Archive Like a Pro!
Just in time for the final days of finals, we remind you of an article written a few weeks ago called Archive Like a Pro! Use these steps to ensure that your hard work is recorded.
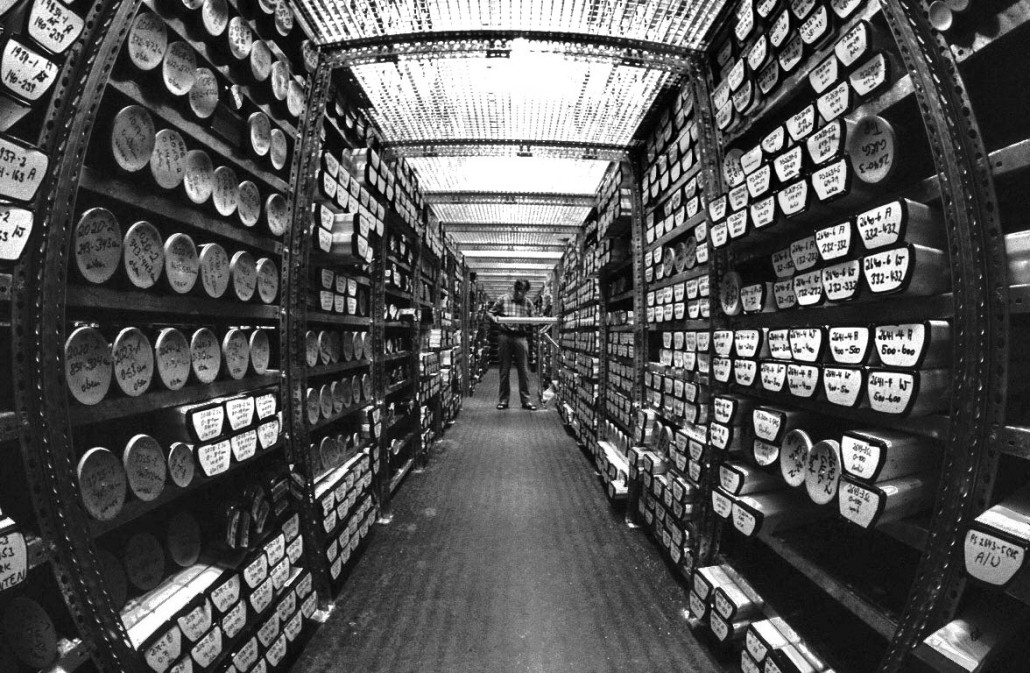
(via Section|Cut)
As discussed in the PREPARE TO MAKE post, we designers create a lot of data.* All those site photos, scans of sketches, digital models copied and cut apart, and hi-def boards for printing adds up. This data and all those raw materials that support it are evidence of your design process and your creative capital. It is the tangible product that you pay for in school – what our clients pay for in ‘the real world.’ Needless to say, it’s worth some time to thoughtfully organize, protect, and archive for future use.
In this post we’ll help to demystify this digital content with the help of a professional archivist! Tania Franco is the archivist at Safdie Architects, leading the charge in documenting 50 years worth of architectural design content. A big job that demands standards – but not unlike your current project!
*Data is basic recorded content. For our purposes in the form of ones and zeros in long strings. Information is the combining of that basic data, producing sets based on relationships. Information is accumulated digitally as collections of data, amassed into kilobytes, gigabytes, and beyond. Knowledge is formed when meaningful connections are made among pieces of information.
STEP 1. CREATE A FOLDER STRUCTURE
Creating a consistent hierarchical classification scheme of folders that you use for every project is the first step towards top-notch organization. But one might create a hierarchy of folders based on dates, class titles, types of projects, or types of files. Choose what makes most sense to you and most applicable to the structure of the task at hand. We suggest including some sort of automatic sorting mechanism such as numbers or letters at the beginning of all file folders to make it easier to find things.
STEP 2. MANAGE YOUR FILE TYPES
PHOTOGRAPHS
Photographs, along with digital renderings, constitute the majority of raster image files you will use. Raster files are made up of millions of pixels, each one a color that makes up the image. There are many formats to how a computer encodes an image, and various formats have unique characteristics.
Digital cameras typically will give you one or two file types: JPG, and possibly RAW. JPGs are a ‘lossy’ file type, meaning every time you open a picture in an editing software and make a change, the file loses some of its data. Over time the image may appear grainy or distorted. A RAW file (the actual file extension is unique to each manufacturer) is the pure data directly from the camera’s sensor and allows for more flexibility in the editing process (this feature is not generally available in lower-model cameras like point-and-shoots and phone cameras). The file is lossless, as in, it does not lose data over time, but also data heavy. These files are what you should work from if you take a bunch of pictures you plan to edit for use in your projects, but can be toasted for any undesired pictures.
While most of your images will remain as JPGs, or potentially RAW files, working image files should be TIFFs (instead of .PSD files, for example). TIFF files are the highest quality file type, and they result in fairly large files (In Photoshop using LZW compression will reduce some size). Make TIFFs of any images and renderings, which may retain layer information as well. From your TIFF, you can create any type of compressed file such as JPG, PNG, or GIF.
PORTABLE DOCUMENT FORMAT (PDF)
Once called ‘Camelot’ by its inventors at Adobe, the PDF has become the venerable storage vault of the digital era. The format is the go-to for everything from drawing files to presentations, or even 3D models. In 2008 it was even adopted into the International Organization for Standardization as ISO 32000-1:2008.
Drawings constructed in a 2D or 3D CAD program or the Adobe Suite should of course be maintained in their original file formats. However, these formats are subject to change. The Adobe PDF format is the most archival format in common use, and therefore all work should end up in this form.
3D CAD files pose a problem for long-term archiving because standards change and programs become obsolete. As always, maintain original files, but we suggest saving files to at least 2 other ‘standard’ formats that play nicely across multiple platforms (.dwg or .obj for example) if the data contained is critical for archiving. Also, although it is not widely used, 3D PDFs will still allow you to view your model, although not edit it.
InDesign is usually the last frontier before PDF for a majority of work in the design world. Generally, one requires 2 settings; A high quality print setting for printing IRL exists within the dropdown presets, and it works great. However, the second setting is frustratingly more elusive: small file size but looks good for screen viewing. For this, we must construct our own settings. Copy the settings in the image below, and save it as a new preset called ‘SMALL’. The next time you must save a PDF to share with someone via email, save it as SMALL to a folder in Dropbox, then send your colleague the link. They will be able to view the PDF directly in the browser.
Note: Any adobe Illustrator file may be saved natively as a PDF file, which will retain Illustrator settings, at least into the foreseeable future.
STEP 3. STANDARDIZE FILE NAMES
Keep track of progress and files by naming your files consistently. That includes every sketchbook page, loose sketch, and photo. Otherwise you may spend massive amounts of time researching when a sketch was created just when you need it. There are many formats for dating files, but the one we suggest is: Date(ymd)ProjectPhase.jpg. This format will allow you to sort file names and all dates will fall in line.
Examples:
140131_Library_Section (draft 1).jpg
140216_Library_Section (final).jpg
Step 4. GET INTO METADATA
Metadata is data about data. Adding metadata to your files adds to greater searchability for the future. Most programs have metadata fields for you to add to under the document properties.
In text files you can add Author, Title, Date, Subject, Keywords, Category, and Comments/Notes metadata in the document properties. You can also type in these metadata fields by right-clicking on your file under your general computer files.
For photos and PDFs I use Adobe Bridge to add metadata. It’s easy to learn the basics of Bridge, and it acts as a desktop where you can search your whole computer. Bridge allows you to add metadata to multiple files at once, and from there you can create photo sets, contact sheets, and more.
Step 5. BACK IT UP
THE CLOUD
Cloud services are fantastic for working across multiple machines, collaborating with others, and backing up your work without having to spend time thinking about it. However, we don’t advise using cloud storage as your only backup. As an archivist I cannot fully trust cloud storage for the long term, as companies may go out of business, technology marches forward, etc. Always keep digital copies of your content on a physical drive.
The cloud can also be a more active part of your workflow. Multiple services exist for seamless uploading of all photos from your smartphone (try taking a picture of a study model, then grabbing it out of dropbox to annotate!). Google drive simplifies the process of writing papers or making spreadsheets. You’ve probably seen the latest and greatest thing, and if you find something awesome, consider submitting it to Section Cut!
External Hard Drives
Ideally, you should have 2 external hard drives, at least one of which is compatible for both Mac and PC*. One that you back up to regularly (perhaps kept at school), and one that you back to monthly or at the end of a semester. Keep this hard drive in a trusted location other than your home or studio. A significant other, good friend, or parent’s house are all good storage locations (and you can return the favor!). This will ensure the safety of your data in the event of disaster or theft.
*Although compatibility between macs and PCs is mostly seamless these days, the two operating systems read and write data to hard drives in different ways. Particularly if you work on a mac, we suggest formatting at least one hard drive to be compatible with PCs. For more, read this article on the Best ways to format an external drive for Windows and Mac.
It’s easy to get sloppy with file management, but some simple steps can save a lot of time down the road. You’ll thank your past-self when it’s portfolio time.
Give future-self a big hug and begin Archiving like a Pro!
Our guest lecturer, Tania Franco, is a Montrealer/Torontonian who currently works in Somerville, MA as Moshe Safdie’s archivist. She is an architectural archive specialist, having archived the work of Ernest Cormier and Arthur Erickson at the CCA, and of Edgar Tafel at Columbia University’s Avery Architectural Drawings & Archives.
(via Section|Cut)